Best Practices for Cabinet Refinishing Success
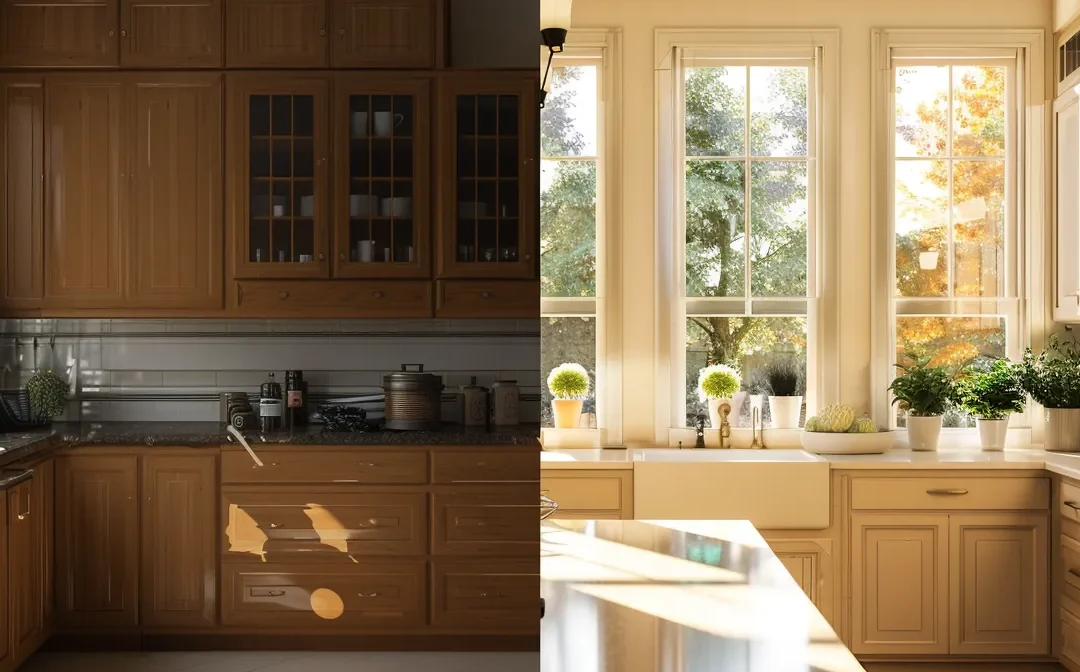
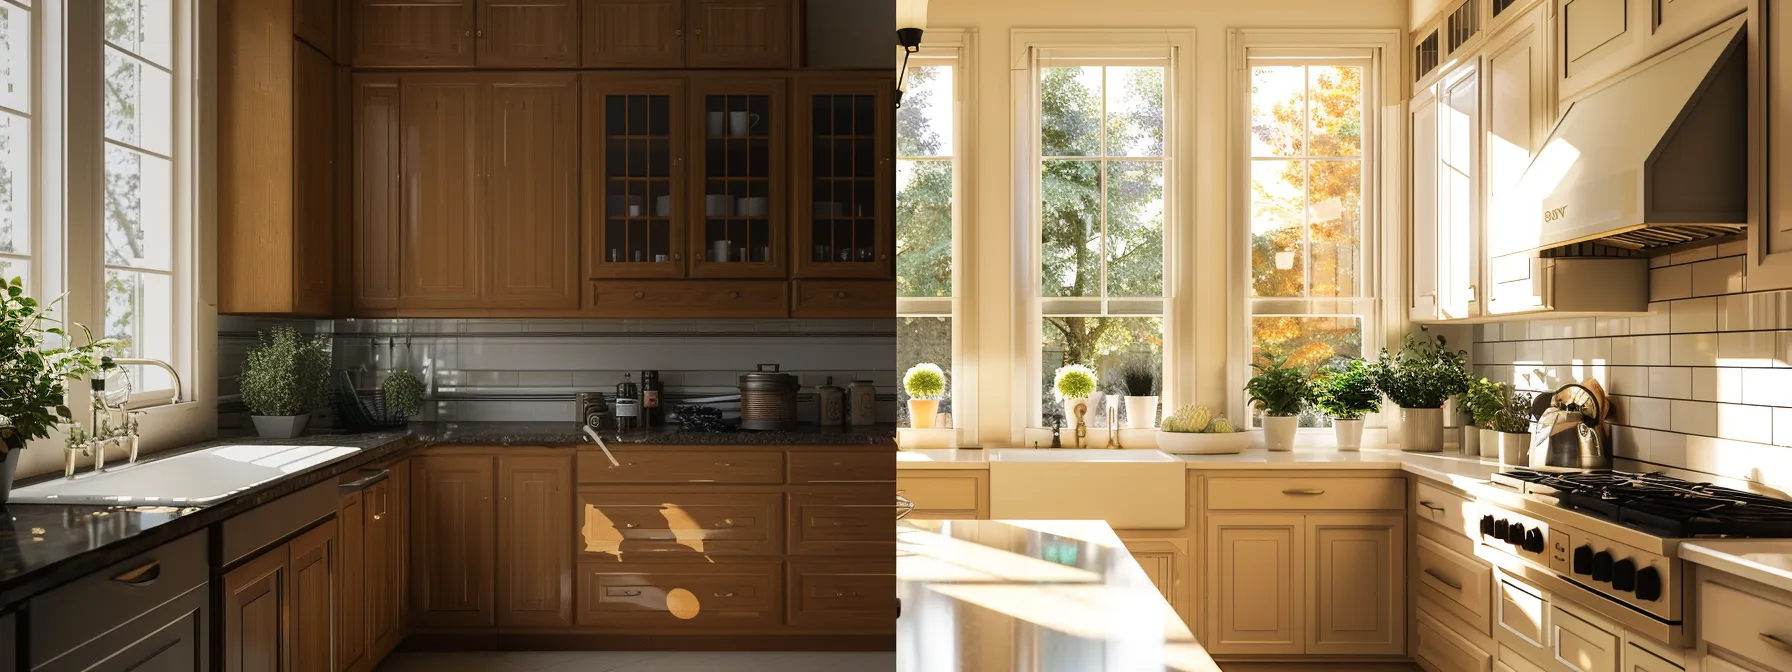
Are your cabinets looking tired and outdated? Cabinet refinishing can be an effective solution that transforms your space without the expense of a full replacement. In this article, I will outline essential preparation techniques, help you select the best paint, and provide a step-by-step refinishing process. By following these best practices, you will achieve beautiful, long-lasting results, making your cabinets the highlight of your home. Let’s tackle the common pitfalls of cabinet refinishing and turn your vision into reality.
Understanding Cabinet Refinishing Essentials

Choosing the right materials is crucial for achieving strong adhesion when refinishing kitchen cabinets. I’ll outline essential tools, including foam applicators, that ensure a smooth application. Additionally, I’ll cover how to prepare your workspace for optimal results, including power washing services, emphasizing the importance of communication during the project. Understanding these fundamentals will set the foundation for a successful cabinet refinishing experience.
Selecting the Right Materials for Cabinet Refinishing
Selecting the right materials greatly impacts the quality of cabinet refinishing. I recommend using a high-quality oil or enamel paint for a durable finish that stands up to wear, especially in high-use areas like kitchens and bathrooms. It’s essential to choose the appropriate stain for the wood type of your cabinets, ensuring a smooth, lasting application that enhances the overall aesthetic of your walls and cabinetry.
| Material Type | Recommended Use | Ideal For |
|---|---|---|
| Oil Paint | Durable finish | Kitchens, bathrooms |
| Enamel Paint | Long-lasting protection | High-traffic areas |
| Stain | Enhances wood grain | Wooden cabinets |
Essential Tools Needed for a Successful Project
Having the right tools is vital for a successful cabinet refinishing project. I recommend investing in high-quality brushes, foam applicators, and rollers to achieve an even coat of acrylic paint that enhances the appearance and durability of your cabinets. It’s essential to have drop cloths and painter’s tape on hand to protect your room from splatters and ensure clean edges, allowing you to take pride in a professional-looking finish.
Preparing Your Workspace for Optimal Results
Preparing your workspace is a critical step in achieving excellent results for your cabinet refinishing project. As a hudson painter, I emphasize the importance of selecting a well-ventilated area, free from dust and debris. This setting not only enhances adhesion, especially when using latex finishes, but also ensures that the carpentry detail remains intact throughout the process.
| Workspace Setup | Benefits |
|---|---|
| Well-ventilated area | Improves paint drying time and reduces fume buildup |
| Clean surfaces | Prevents dust from settling on wet finishes |
| Protection for surrounding areas | Minimizes damage when replacing cabinet doors |
With a solid grasp of cabinet refinishing essentials, we turn now to the heart of the process. Preparation is where the real work begins, laying the foundation for a finish that shines.
Preparation Techniques for Cabinet Refinishing

To achieve outstanding results in kitchen cabinet refinishing, I focus on three essential preparation techniques. First, thoroughly cleaning the cabinets removes dust and grease, ensuring proper adhesion of the primer and paint. Next, addressing any damage with sandpaper fosters a smooth finish. Lastly, selecting the appropriate primer sets the stage for a lasting application, enhancing the overall satin finish.
Cleaning Cabinets Thoroughly Before Refinishing
Cleaning cabinets thoroughly before refinishing is a crucial step in the process. I recommend using a strong degreaser to eliminate dust and grease buildup from surfaces, especially around handles and the interiors of drawers, which can obstruct paint adhesion. Ensuring your workspace has proper lighting helps you see any missed spots and guarantees a clean foundation for applying primer and paint, leading to a more satisfied customer with a polished finish.
Repairing Damages to Ensure a Smooth Finish
Addressing any damage to your cabinets is a critical step before refinishing by hudson. I always pay close attention to scratches, dents, and other imperfections that can affect the final appearance. Using alkyd filler is an excellent choice for repairing wood, as it creates a smooth surface that allows the glaze and paint to adhere properly.
| Damage Type | Repair Method | Recommended Product |
|---|---|---|
| Scratches | Fill with alkyd filler | High-quality wood filler |
| Dents | Sand down and apply glaze | Furniture repair kit |
| Chips | Patch with matching wood patch | Wood patching compound |
Choosing the Right Primer for Your Cabinets
When selecting the right primer for your cabinets, I recommend choosing a high-quality product that suits your specific project needs. For wood surfaces, especially in dining room settings, a primer with a lacquer base provides excellent adhesion, ensuring a smooth finish when paired with polyurethane topcoats. If you opt for a sprayer to apply the primer, you’ll achieve even coverage and save time, enhancing the overall efficiency of the refinishing process.
Once the cabinets are prepped and ready, the next step is choosing the right paint. The right choice can bring your vision to life, transforming each piece into something truly special.
Selecting the Best Paint for Cabinet Refinishing

When it comes to furniture refinishing, selecting the right paint can significantly impact the renovation outcome. I will explore the differences between water-based and oil-based paints, recommend effective brands for optimal results, and discuss how sheen levels affect the appearance and durability of your cabinets. Understanding these elements is essential to achieve a stunning finish that enhances the natural wood grain and suits your bedroom or any space in need of an update.
Water-Based vs. Oil-Based Paints
When choosing between water-based and oil-based paints for refinishing cabinetry, I find both options have distinct benefits that cater to various home improvement needs. Water-based paints are excellent for oak and other hardwoods, providing a quick-drying finish and easy cleanup, perfect for projects involving pantry cabinets where time and efficiency are essential. On the other hand, oil-based paints offer unmatched durability and a rich finish that many homeowners appreciate, often accompanied by a warranty that ensures long-lasting results, making them a favored choice for high-traffic areas.
Recommended Paint Brands for Optimal Results
In my experience, selecting the right paint is essential for cabinet painting success. I often recommend brands such as Behr for their reliable oil paint options, which provide excellent durability and a smooth finish. For clients seeking cabinet painting services in Kentucky, opting for high-quality paints can significantly enhance the final result and ensure that the cabinets withstand daily use.
- Behr offers reliable longevity and smooth application.
- Oil paint is ideal for durability in high-traffic areas.
- High-quality paint is vital for a polished cabinet finish.
Understanding Sheen Levels and Their Impact
Understanding sheen levels is vital when selecting paint for cabinet refinishing as it significantly affects both appearance and functionality. Higher sheen levels, such as satin or semi-gloss, provide a more reflective surface that enhances the cabinet’s visuals and durability, making them easier to clean. Conversely, flat or eggshell finishes offer a softer look but can be more challenging to maintain in high-use areas, emphasizing the need to choose a sheen that aligns with both your aesthetic preferences and practicality requirements:
| Sheen Level | Characteristics | Recommended Use |
|---|---|---|
| Flat | Non-reflective, hides imperfections | Low-traffic areas |
| Eggshell | Soft sheen, light washability | Living rooms or bedrooms |
| Satin | Moderate sheen, durable | Kitchens, bathrooms |
| Semi-gloss | Reflective, easy to clean | High-use cabinets |
Choosing the right paint is only the beginning. Now, let’s dive into the refinishing process, where your vision comes to life.
Step-by-Step Refinishing Process

To achieve successful cabinet refinishing, I focus on three critical steps. First, sanding cabinets properly provides a fresh start, ensuring the surfaces are smooth and clean. Next, applying primer and paint evenly is essential for a uniform finish. Finally, I’ll share techniques for achieving a factory-smooth surface that enhances the overall appearance and durability of your cabinets.
Sanding Cabinets Properly for a Fresh Start
Sanding cabinets properly is an essential step for achieving a smooth surface and ensuring proper paint adhesion. I always use a medium-grit sandpaper first, followed by a fine-grit option to eliminate rough spots. This method not only prepares the cabinets for refinishing but also removes any existing finish, enabling the new paint or stain to bond effectively for lasting results:
- Begin with medium-grit sandpaper to remove old finishes.
- Switch to fine-grit sandpaper for a smooth surface.
- Ensure you clean the surfaces after sanding to remove dust and debris.
Applying Primer and Paint Evenly
Applying primer and paint evenly is critical in achieving a flawless finish for your cabinet refinishing project. I recommend using a high-quality brush or foam applicator for the primer, ensuring a smooth base for the topcoat. Start with a thin layer of primer to avoid thick application, allowing adequate drying time before proceeding with the paint. This method not only ensures better adhesion but also contributes to a professional-looking result.
- Prepare the cabinets by sanding their surfaces.
- Choose a high-quality primer and apply it evenly with a brush or foam applicator.
- Allow the primer to dry completely before applying the topcoat.
- Select a suitable paint and apply it in thin layers, ensuring uniform coverage.
Techniques for Achieving a Factory-Smooth Finish
Achieving a factory-smooth finish requires careful attention to detail throughout the refinishing process. I recommend using high-quality sandpaper with varying grits, starting with medium grit to remove any imperfections, followed by fine grit to create a smooth surface. Additionally, applying paint in thin, even coats allows for optimal adhesion and a flawless appearance, eliminating the risk of drips and uneven texture. Following these techniques will enhance the overall aesthetic of your cabinets:
| Technique | Description | Benefits |
|---|---|---|
| Sanding | Use medium to fine grit sandpaper for surface preparation. | Ensures smooth adhesion and eliminates imperfections. |
| Thin Coats | Apply paint or primer in thin, even layers. | Prevents drips and achieves a professional finish. |
| Quality Tools | Use high-quality brushes and applicators. | Improves the overall finish and minimizes texture defects. |
The refinishing is complete, and the cabinets shine like new. Now, let’s discuss how to keep that fresh look and ensure your investment lasts.
Post-Refinishing Care and Maintenance
To maintain the beauty of your refinished cabinets, it’s essential to implement proper care and maintenance techniques. I will share recommended cleaning methods that preserve the finish, tips for touching up cabinets over time, and strategies for protecting your cabinets from everyday wear and tear. Each of these practices ensures your cabinetry remains stunning and functional for years to come.
Recommended Cleaning Methods to Preserve Finish
To maintain the pristine appearance of refinished cabinets, I recommend using a gentle cleaning solution that won’t harm the finish. I often suggest mixing warm water with a few drops of mild dish soap, applying it with a soft cloth to avoid scratching the surface. Regularly wiping down cabinets with this solution helps to remove dirt and grease while preserving the integrity of the finish, ensuring your cabinetry continues to look its best over time.
Tips for Touching Up Your Cabinets Over Time
To keep your refinished cabinets looking their best over time, I recommend performing regular touch-ups to address any minor scratches or scuffs. A small amount of leftover paint or primer can be used to carefully blend any imperfections, ensuring that the finish remains consistent. Additionally, keeping a cleaning kit accessible will help maintain the cabinets’ beauty and durability, as regular maintenance prevents grime buildup that can dull the sheen. Here are my tips for effective touch-ups:
- Use a small paintbrush for precise application on scratches.
- Keep cleaning supplies handy for regular maintenance.
- Regularly inspect cabinets for wear and tear to address issues promptly.
Protecting Your Cabinets From Wear and Tear
To effectively protect your cabinets from wear and tear, I recommend using coasters and placemats to prevent scratches and heat damage. Regularly applying a maintenance product specifically designed for cabinets can help preserve the finish and extend the life of your refinished surfaces. By ensuring you handle items carefully and maintain a clean environment, you can keep your cabinets looking pristine for years:
- Use coasters and placemats to shield surfaces.
- Apply maintenance products for lasting protection.
- Handle items with care to prevent damage.
Taking care of your newly refinished cabinets is vital for their longevity. Yet, even with the best intentions, mistakes can happen; let’s look at what to avoid to keep your cabinets looking their best.
Common Mistakes to Avoid in Cabinet Refinishing
When it comes to cabinet refinishing, certain mistakes can undermine your results. Skipping preparation steps can lead to poor adhesion and finish quality. Overlooking drying times between coats risks unsightly drips, while misjudging the type of paint to use can affect durability and appearance. Addressing these common pitfalls helps ensure a smooth and successful refinishing project.
Skipping Preparation Steps and Its Consequences
Skipping preparation steps in cabinet refinishing can lead to significant issues that undermine the entire project. I’ve witnessed firsthand how neglecting to clean surfaces properly results in poor paint adhesion, leading to peeling and an overall unsatisfactory finish. By ensuring that each step, from cleaning to sanding, is thoroughly completed, I guarantee a durable and visually appealing outcome that meets my clients’ expectations and enhances their cabinetry significantly.
Overlooking Drying Times Between Coats
One of the most critical yet often overlooked steps in cabinet refinishing is allowing adequate drying time between coats of paint or primer. I’ve encountered many situations where rushing this process led to unsightly drips or uneven finishes that required additional work to correct. Each layer needs sufficient time to cure properly; otherwise, the final result may not meet your expectations, which can lead to dissatisfaction with the refinished cabinetry.
- Ensure proper cleaning and prep work before starting.
- Allow sufficient drying times between coats for best results.
- Don’t rush the application process to achieve a smoother finish.
- Pay attention to temperature and humidity, which can affect drying.
Misjudging the Type of Paint to Use
Misjudging the type of paint for cabinet refinishing can lead to disappointing results. I understand that different areas of the home require specific types of paint; for instance, oil-based paints provide durability in high-traffic areas like kitchens, while water-based paints are suitable for quicker projects due to their easy application and fast drying times. Selecting the wrong paint compromises both the aesthetic and longevity of the finish, making thorough research essential before starting your project:
- Identify the specific needs of your cabinetry based on usage.
- Consider the advantages of oil-based vs. water-based paints.
- Evaluate the finish required for your cabinets and select accordingly.
Conclusion
Best practices for cabinet refinishing ensure outstanding results and enhance the longevity of your cabinetry. Prioritizing proper preparation, selecting high-quality materials, and investing in the right tools are fundamental to achieving a flawless finish. Additionally, understanding the types of paint and appropriate application techniques can significantly impact both durability and aesthetics. By adhering to these guidelines, you can transform your cabinets while ensuring they remain beautiful and functional for years to come.